AP Pro AX
Model superseded, replacement product is AP Pro AX (HW3)
Super Rugged and Wi-Fi 6 Ready

Mesh Capability
With Wi-Fi mesh support, have the flexibility
to deploy the device wherever it’s needed and eliminate all the blindspots in your network.
 Product Brochure
OVERVIEW
Enterprise-Grade Roaming Speeds
Bring in an unbreakable connection wherever you need it. Experience the speed of an office network even while you’re on the field.
Mesh Capability
With Wi-Fi mesh support, have the flexibility to deploy the device wherever it’s needed and eliminate all the blindspots in your network.
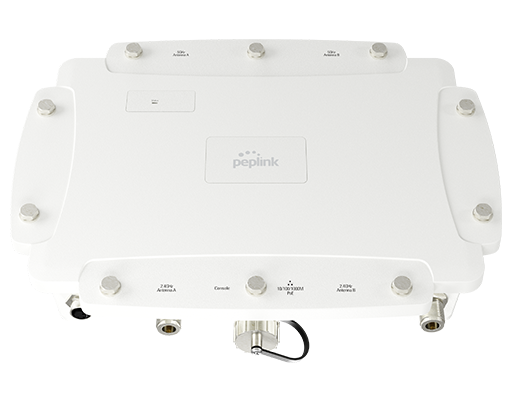
Built like a Tank
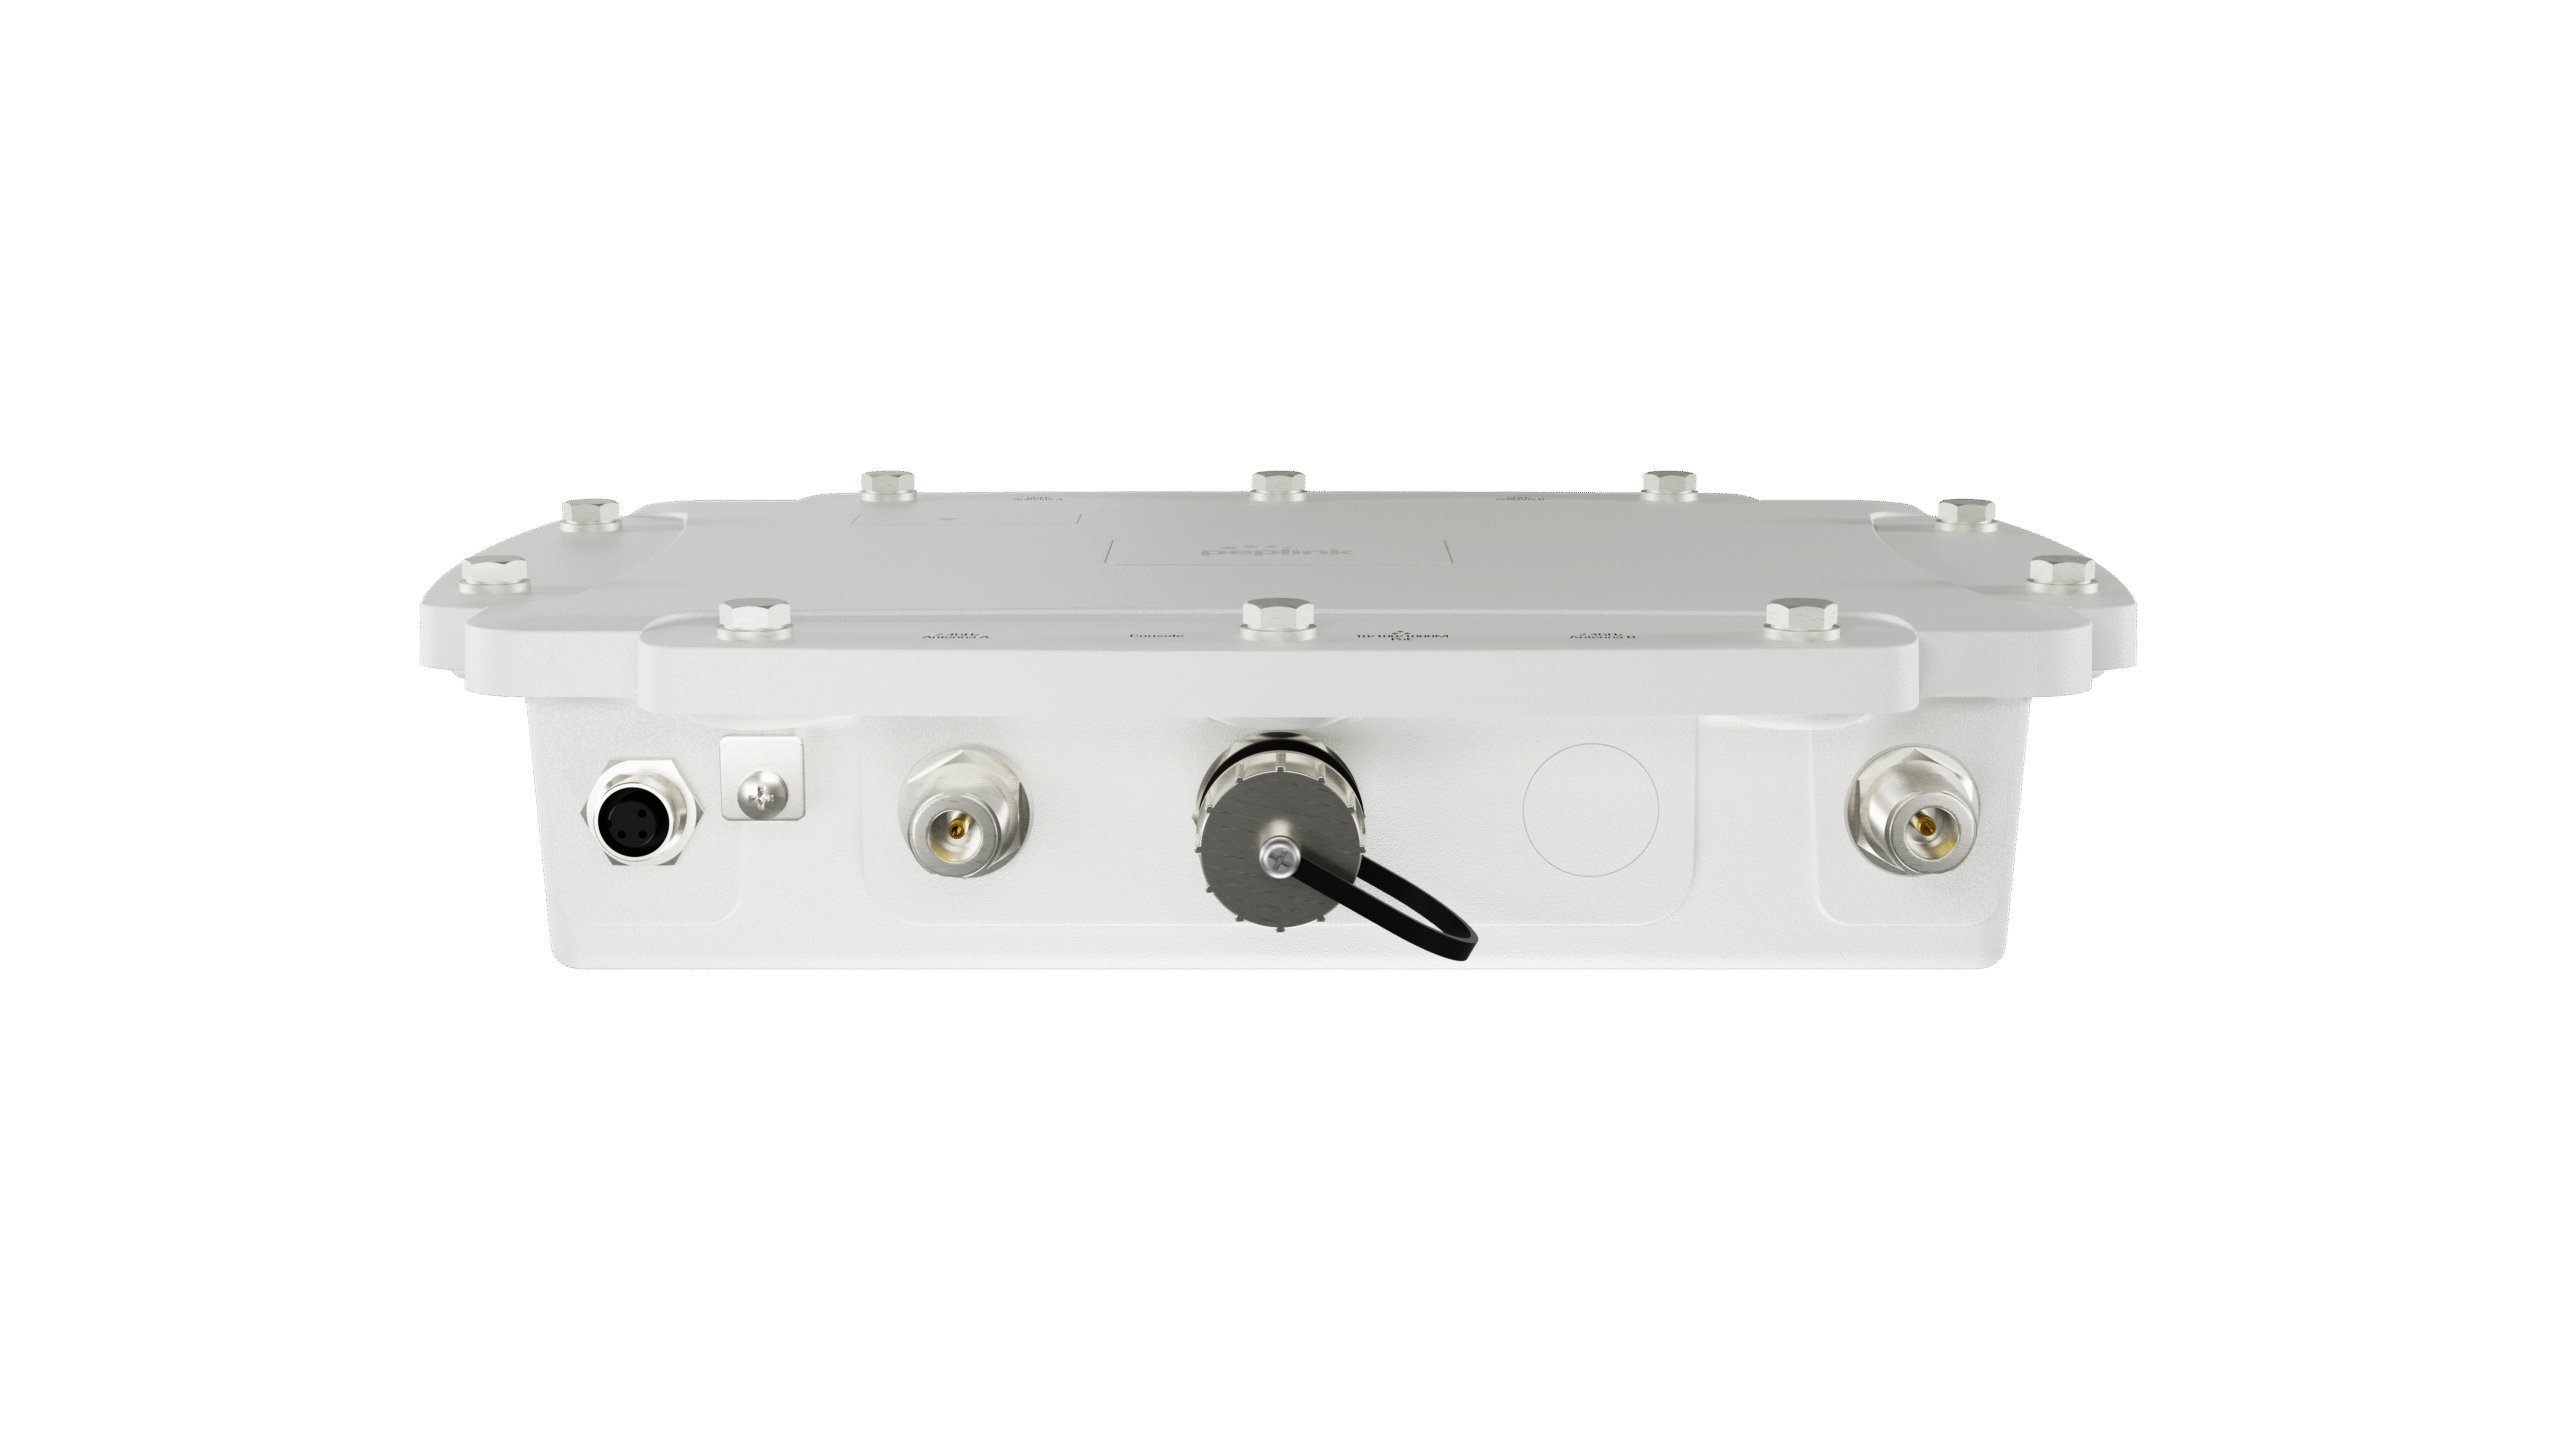
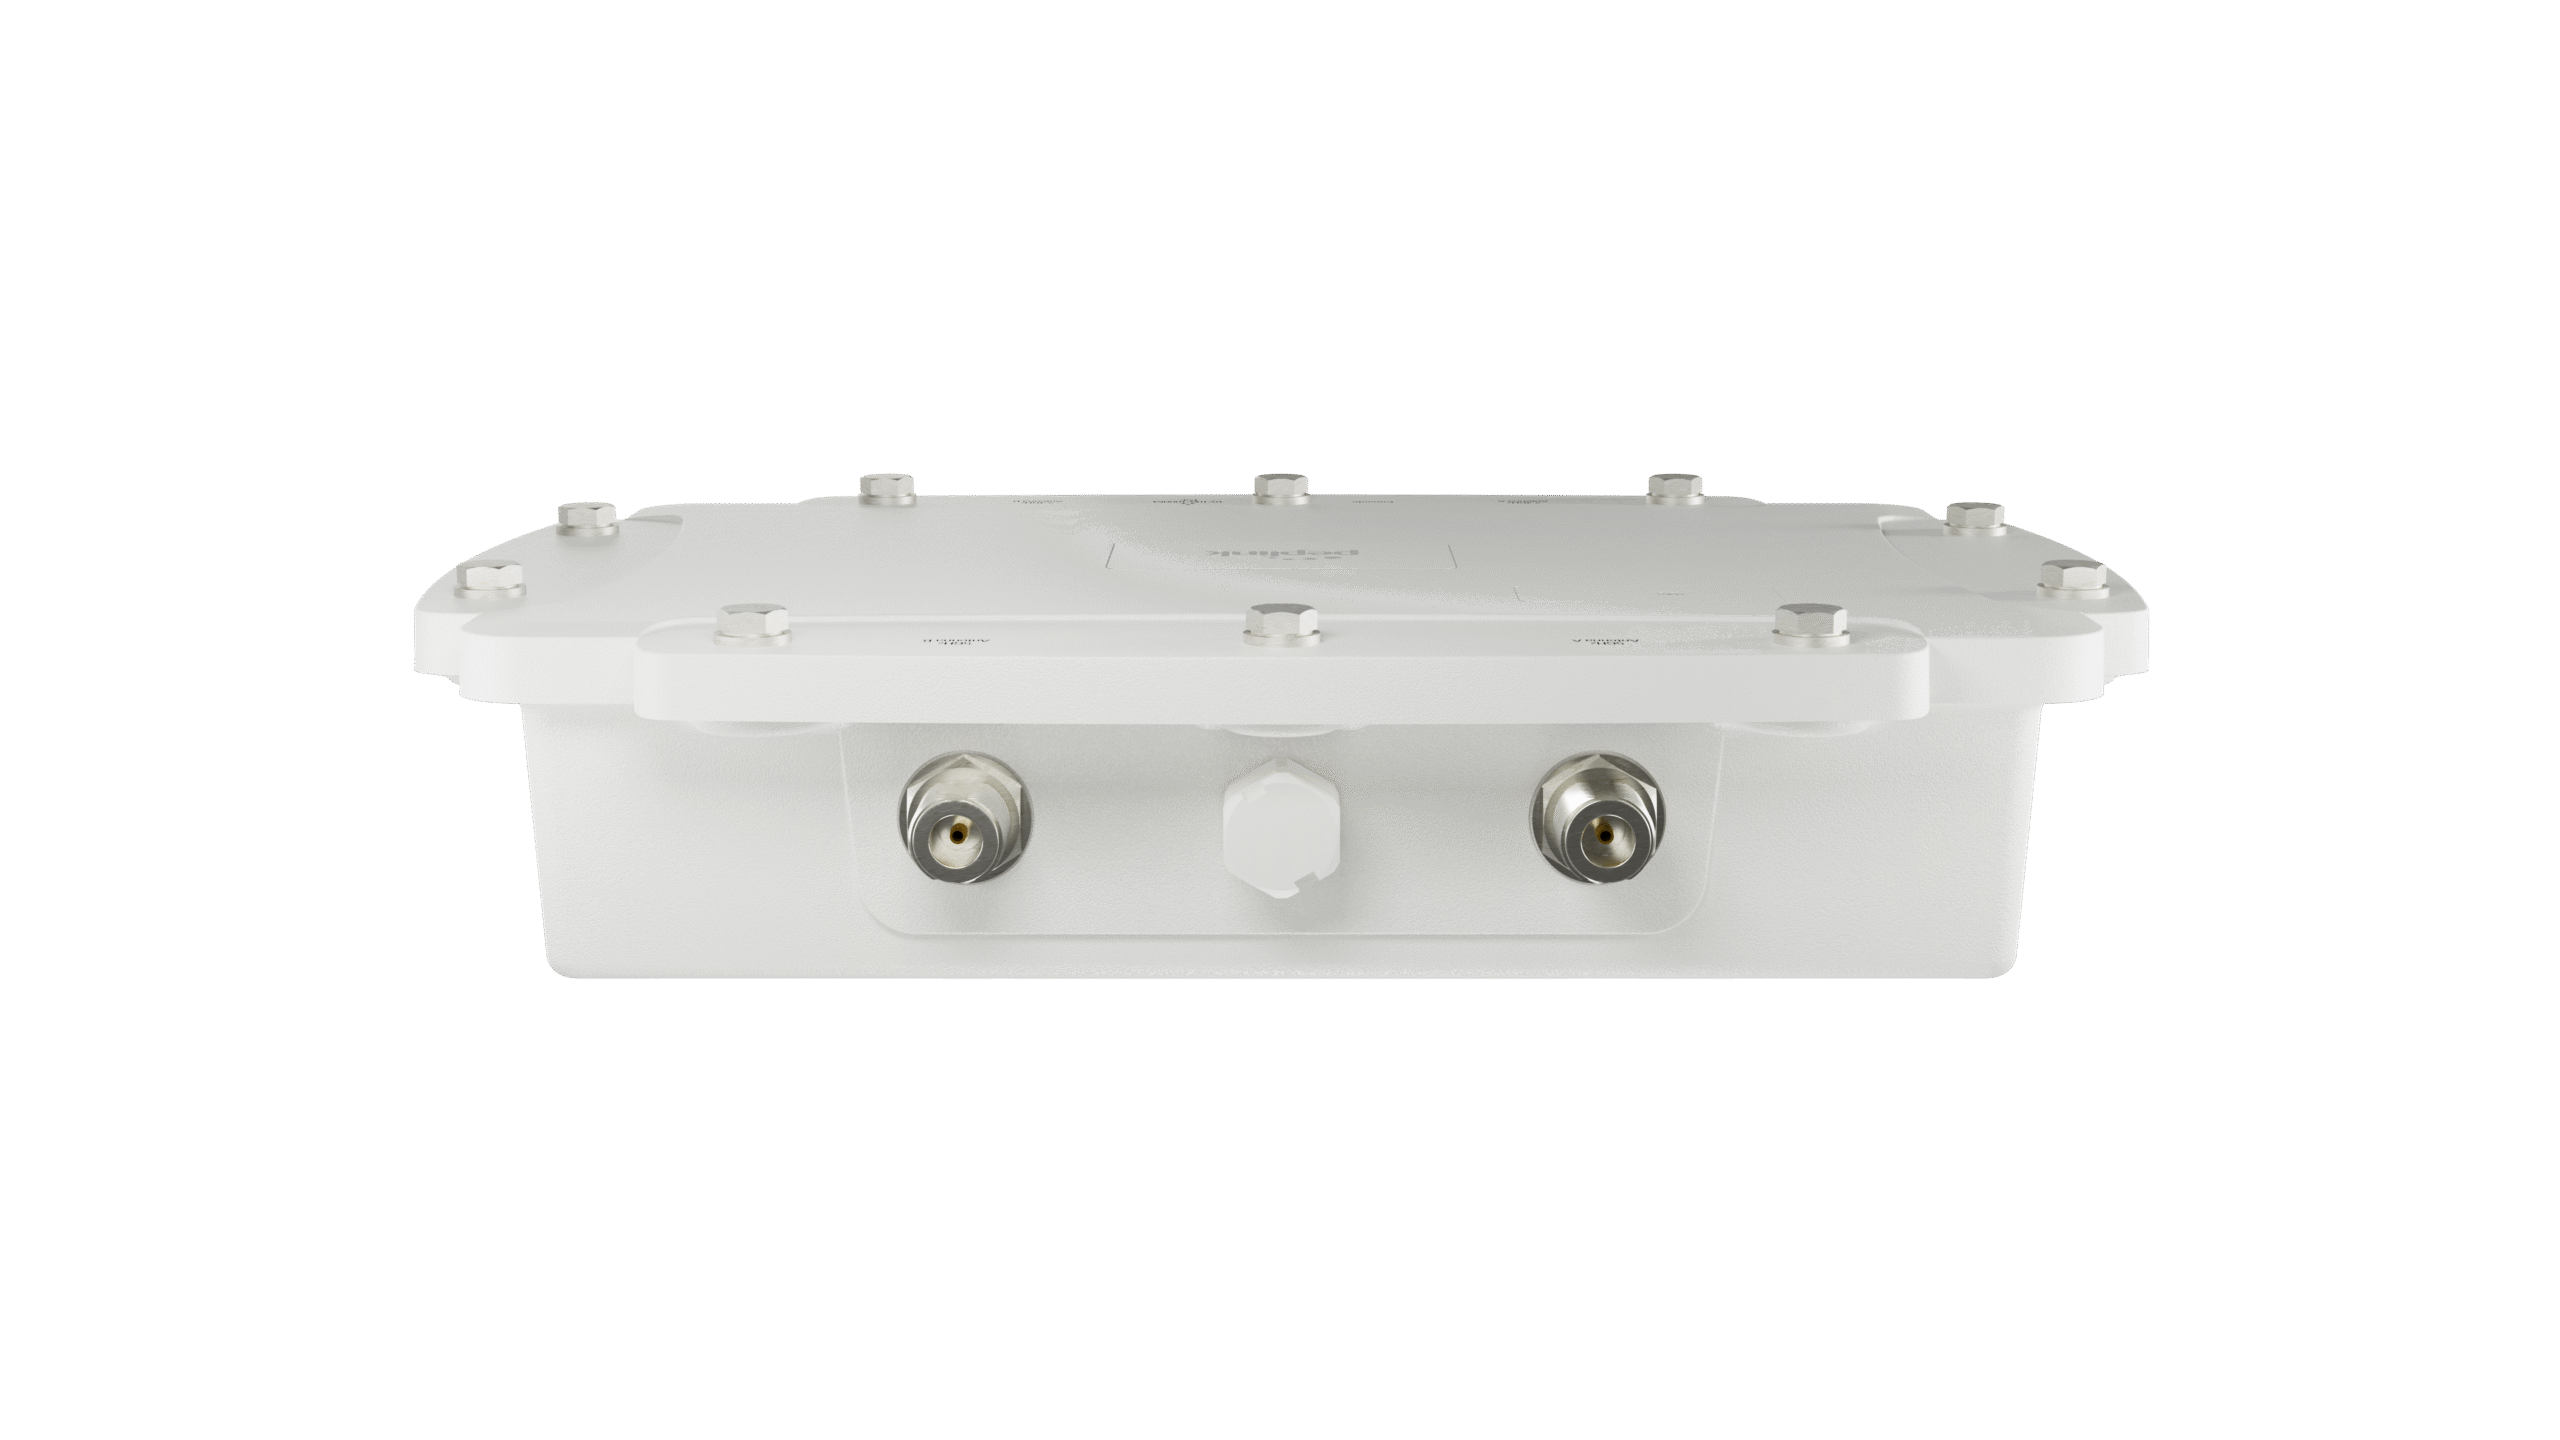
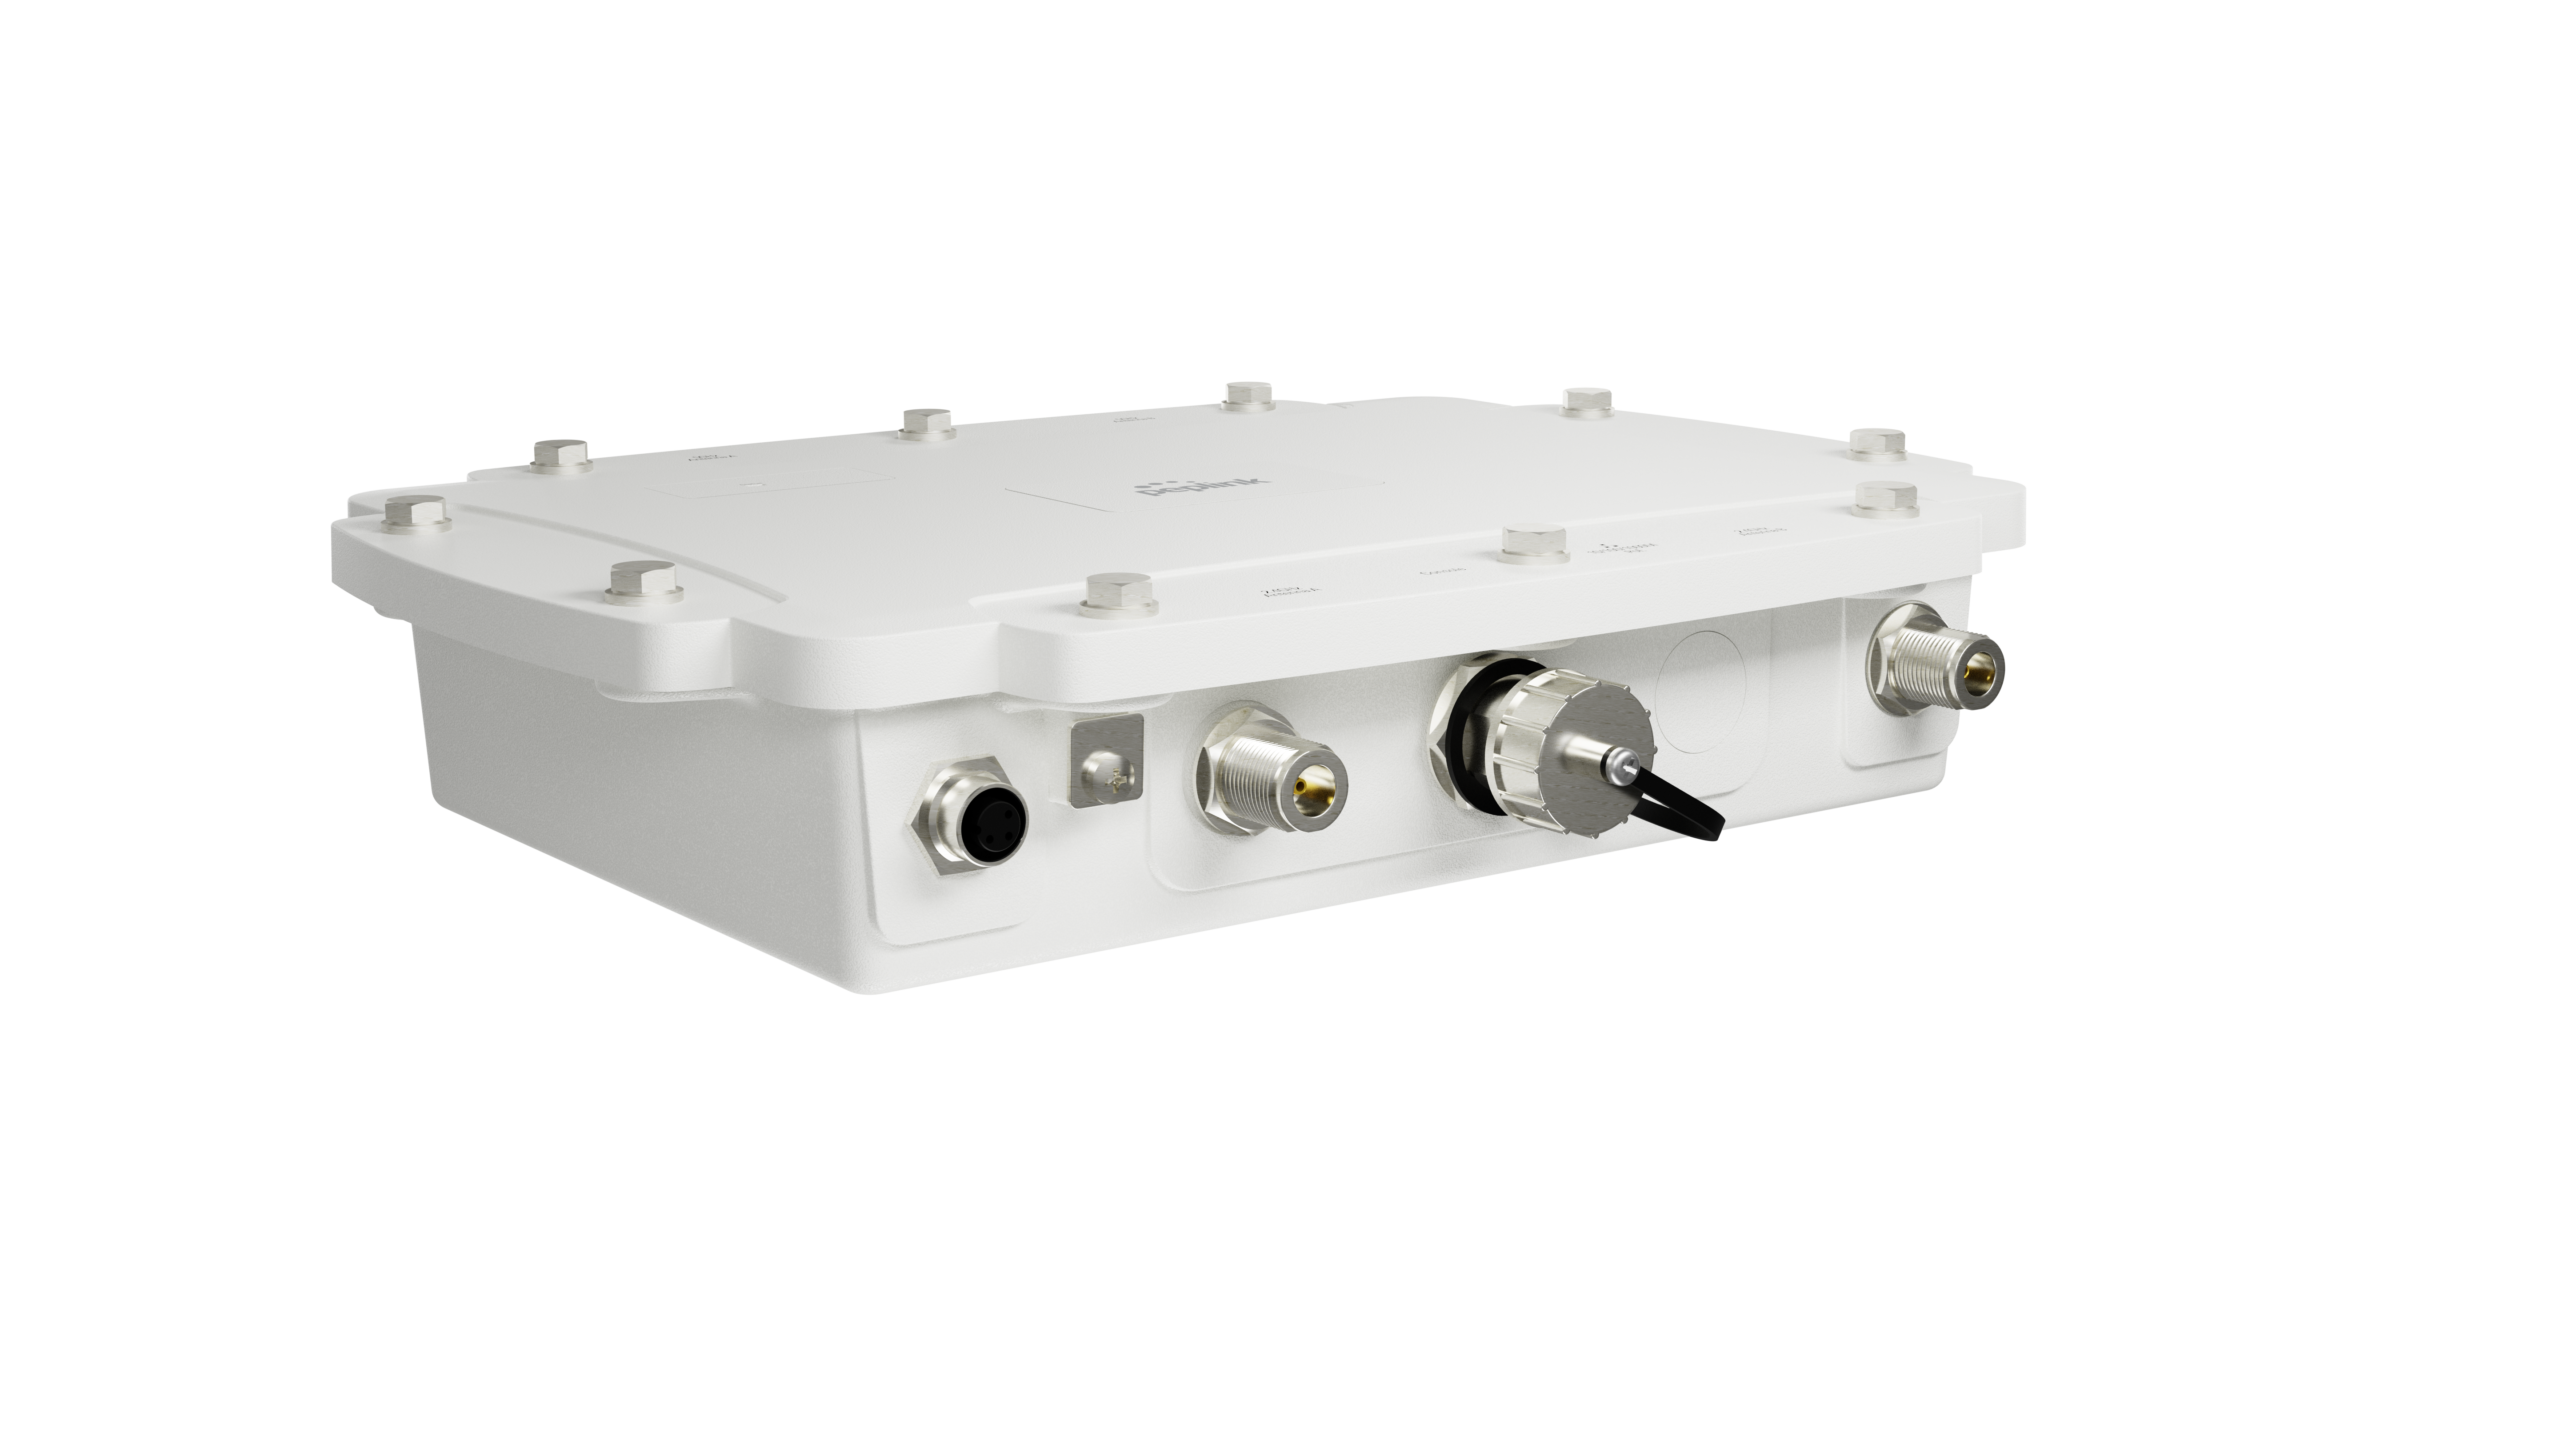
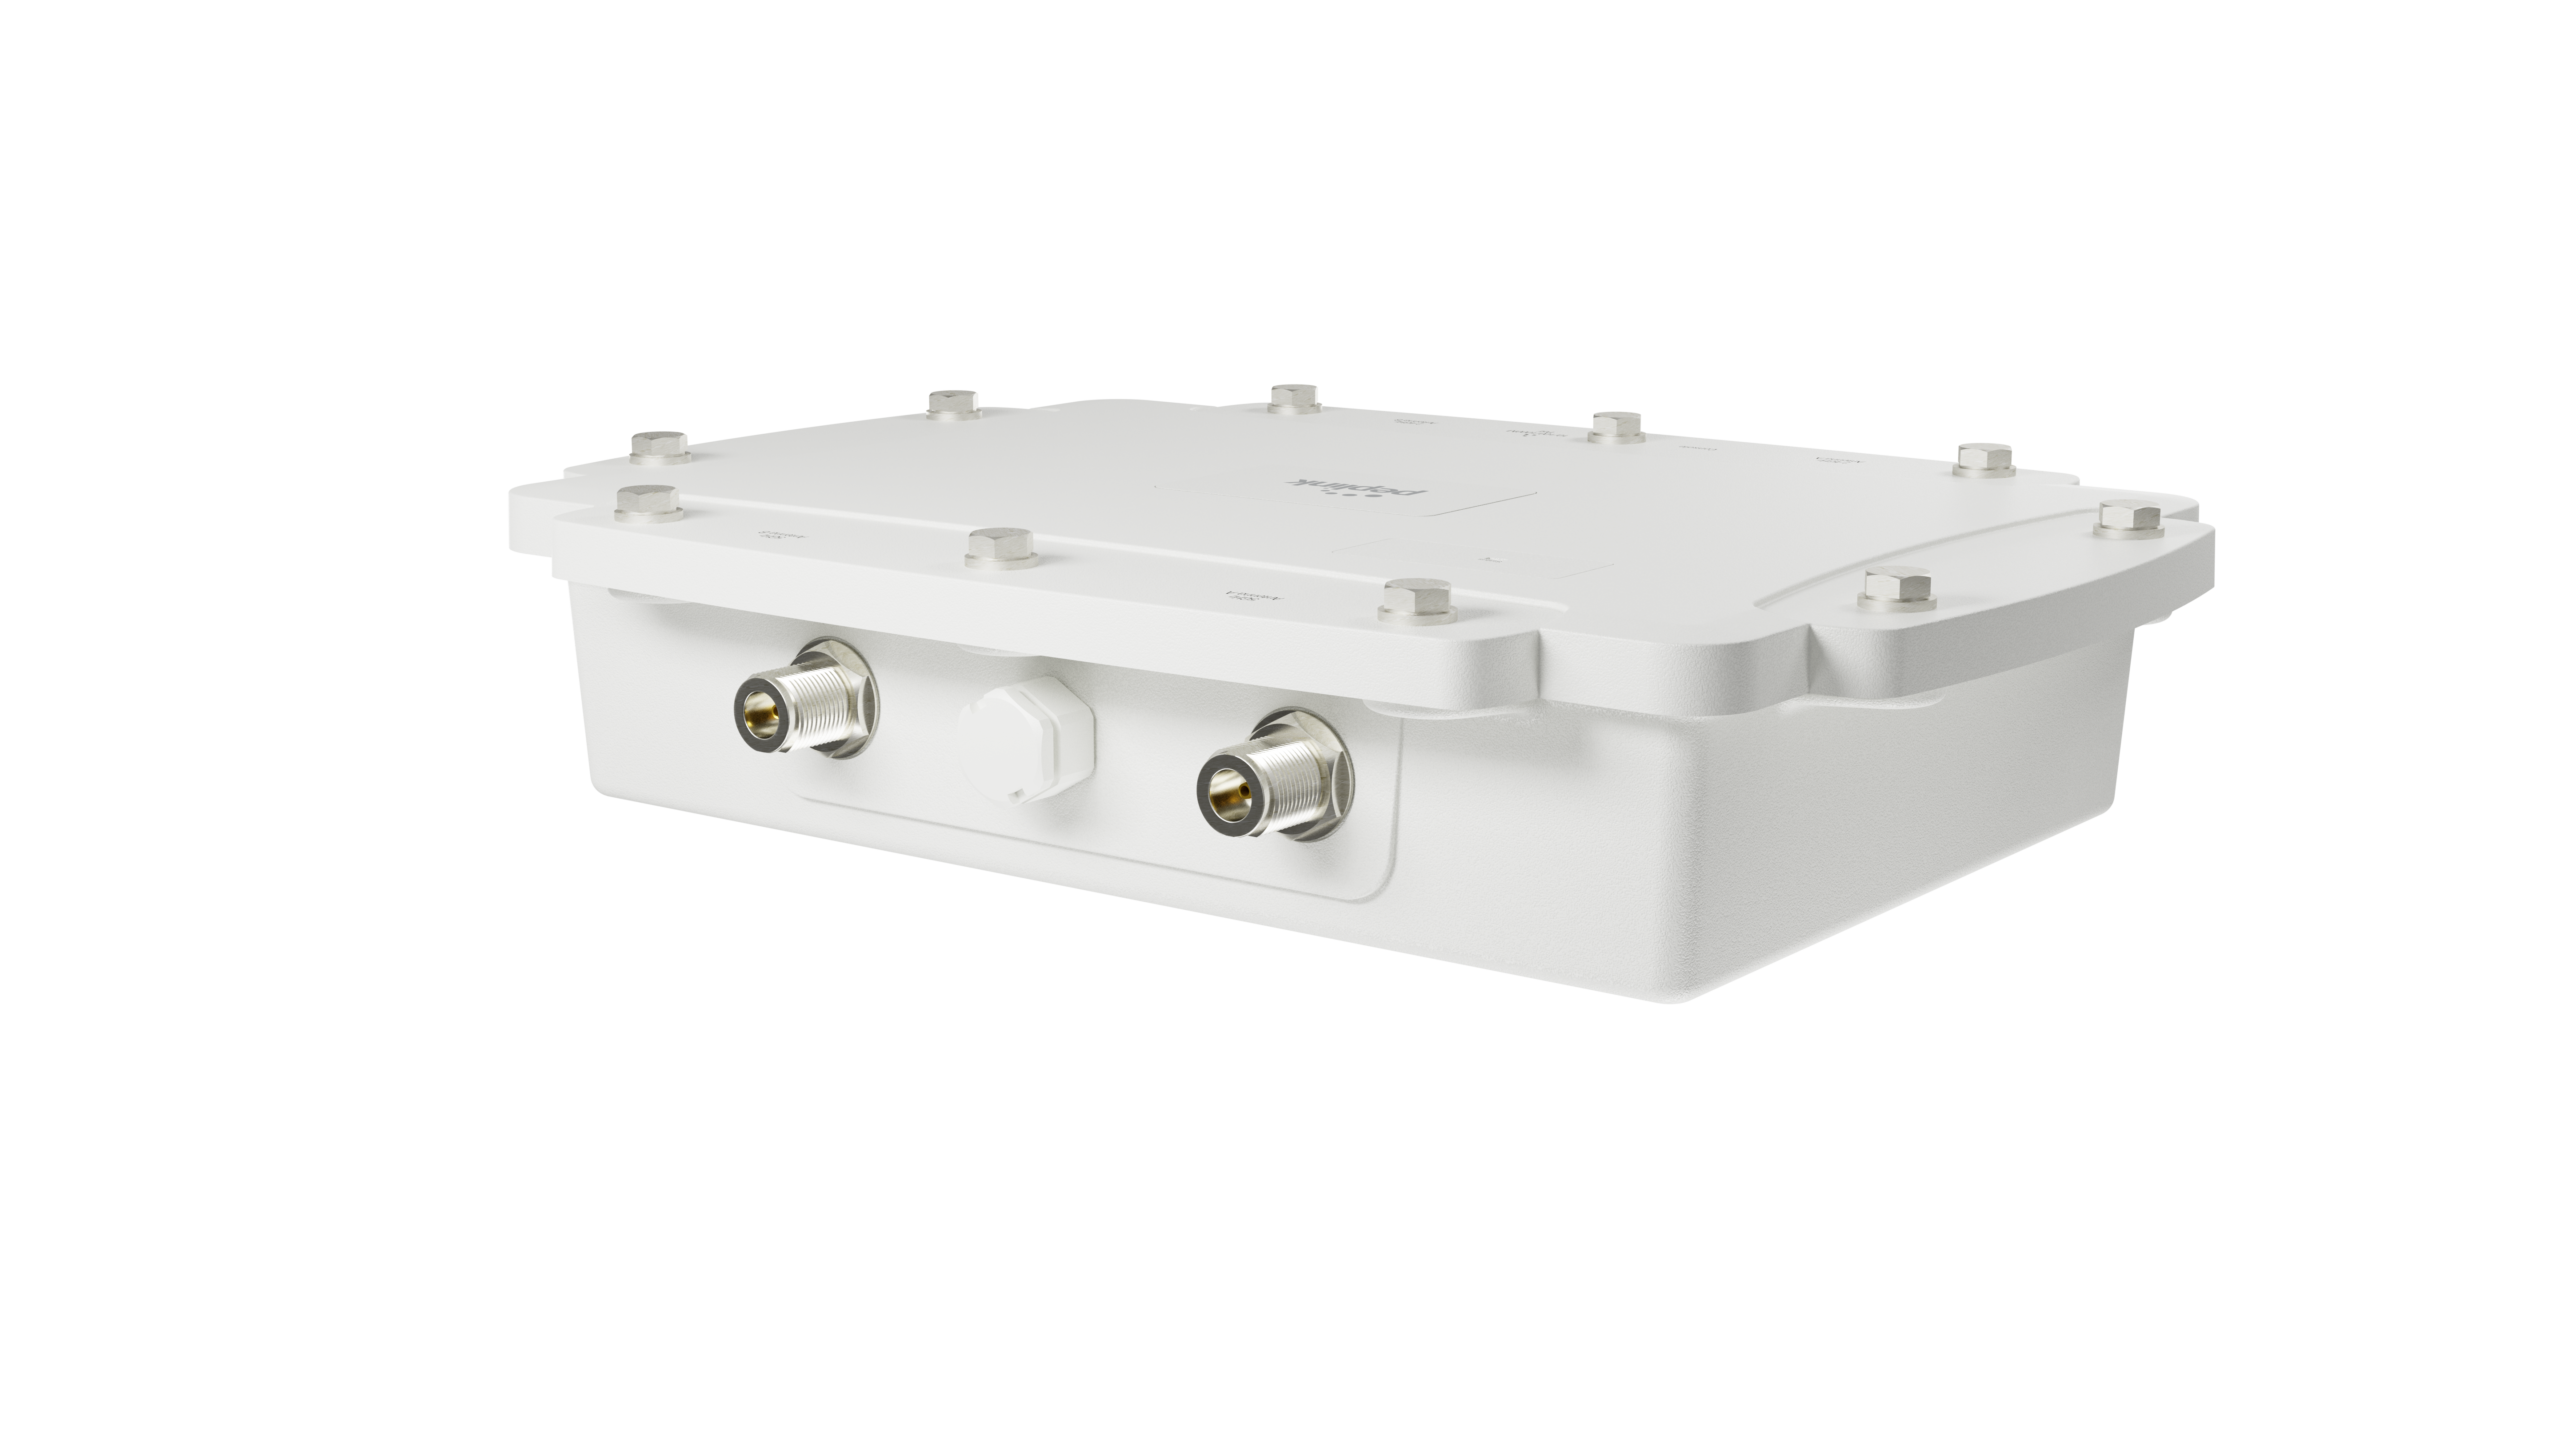
A metal IP67 enclosure provides a solid exterior to protect not only the device, but your connection as well.
Perfect for Demanding Deployments
Provide Wi-Fi 6 connections to factories, construction sites or harbor sides. No matter the weather, no matter the conditions.
Turnkey Captive Portals
Captive portals are simple to create and easy to customise. Implement a guest network with just a few clicks.
Seamless Integration within Peplink’s Ecosystem
Built for use in the Peplink Ecosystem, link up the new access point to the rest of your Peplink network for instant connectivity.
SPECIFICATIONS

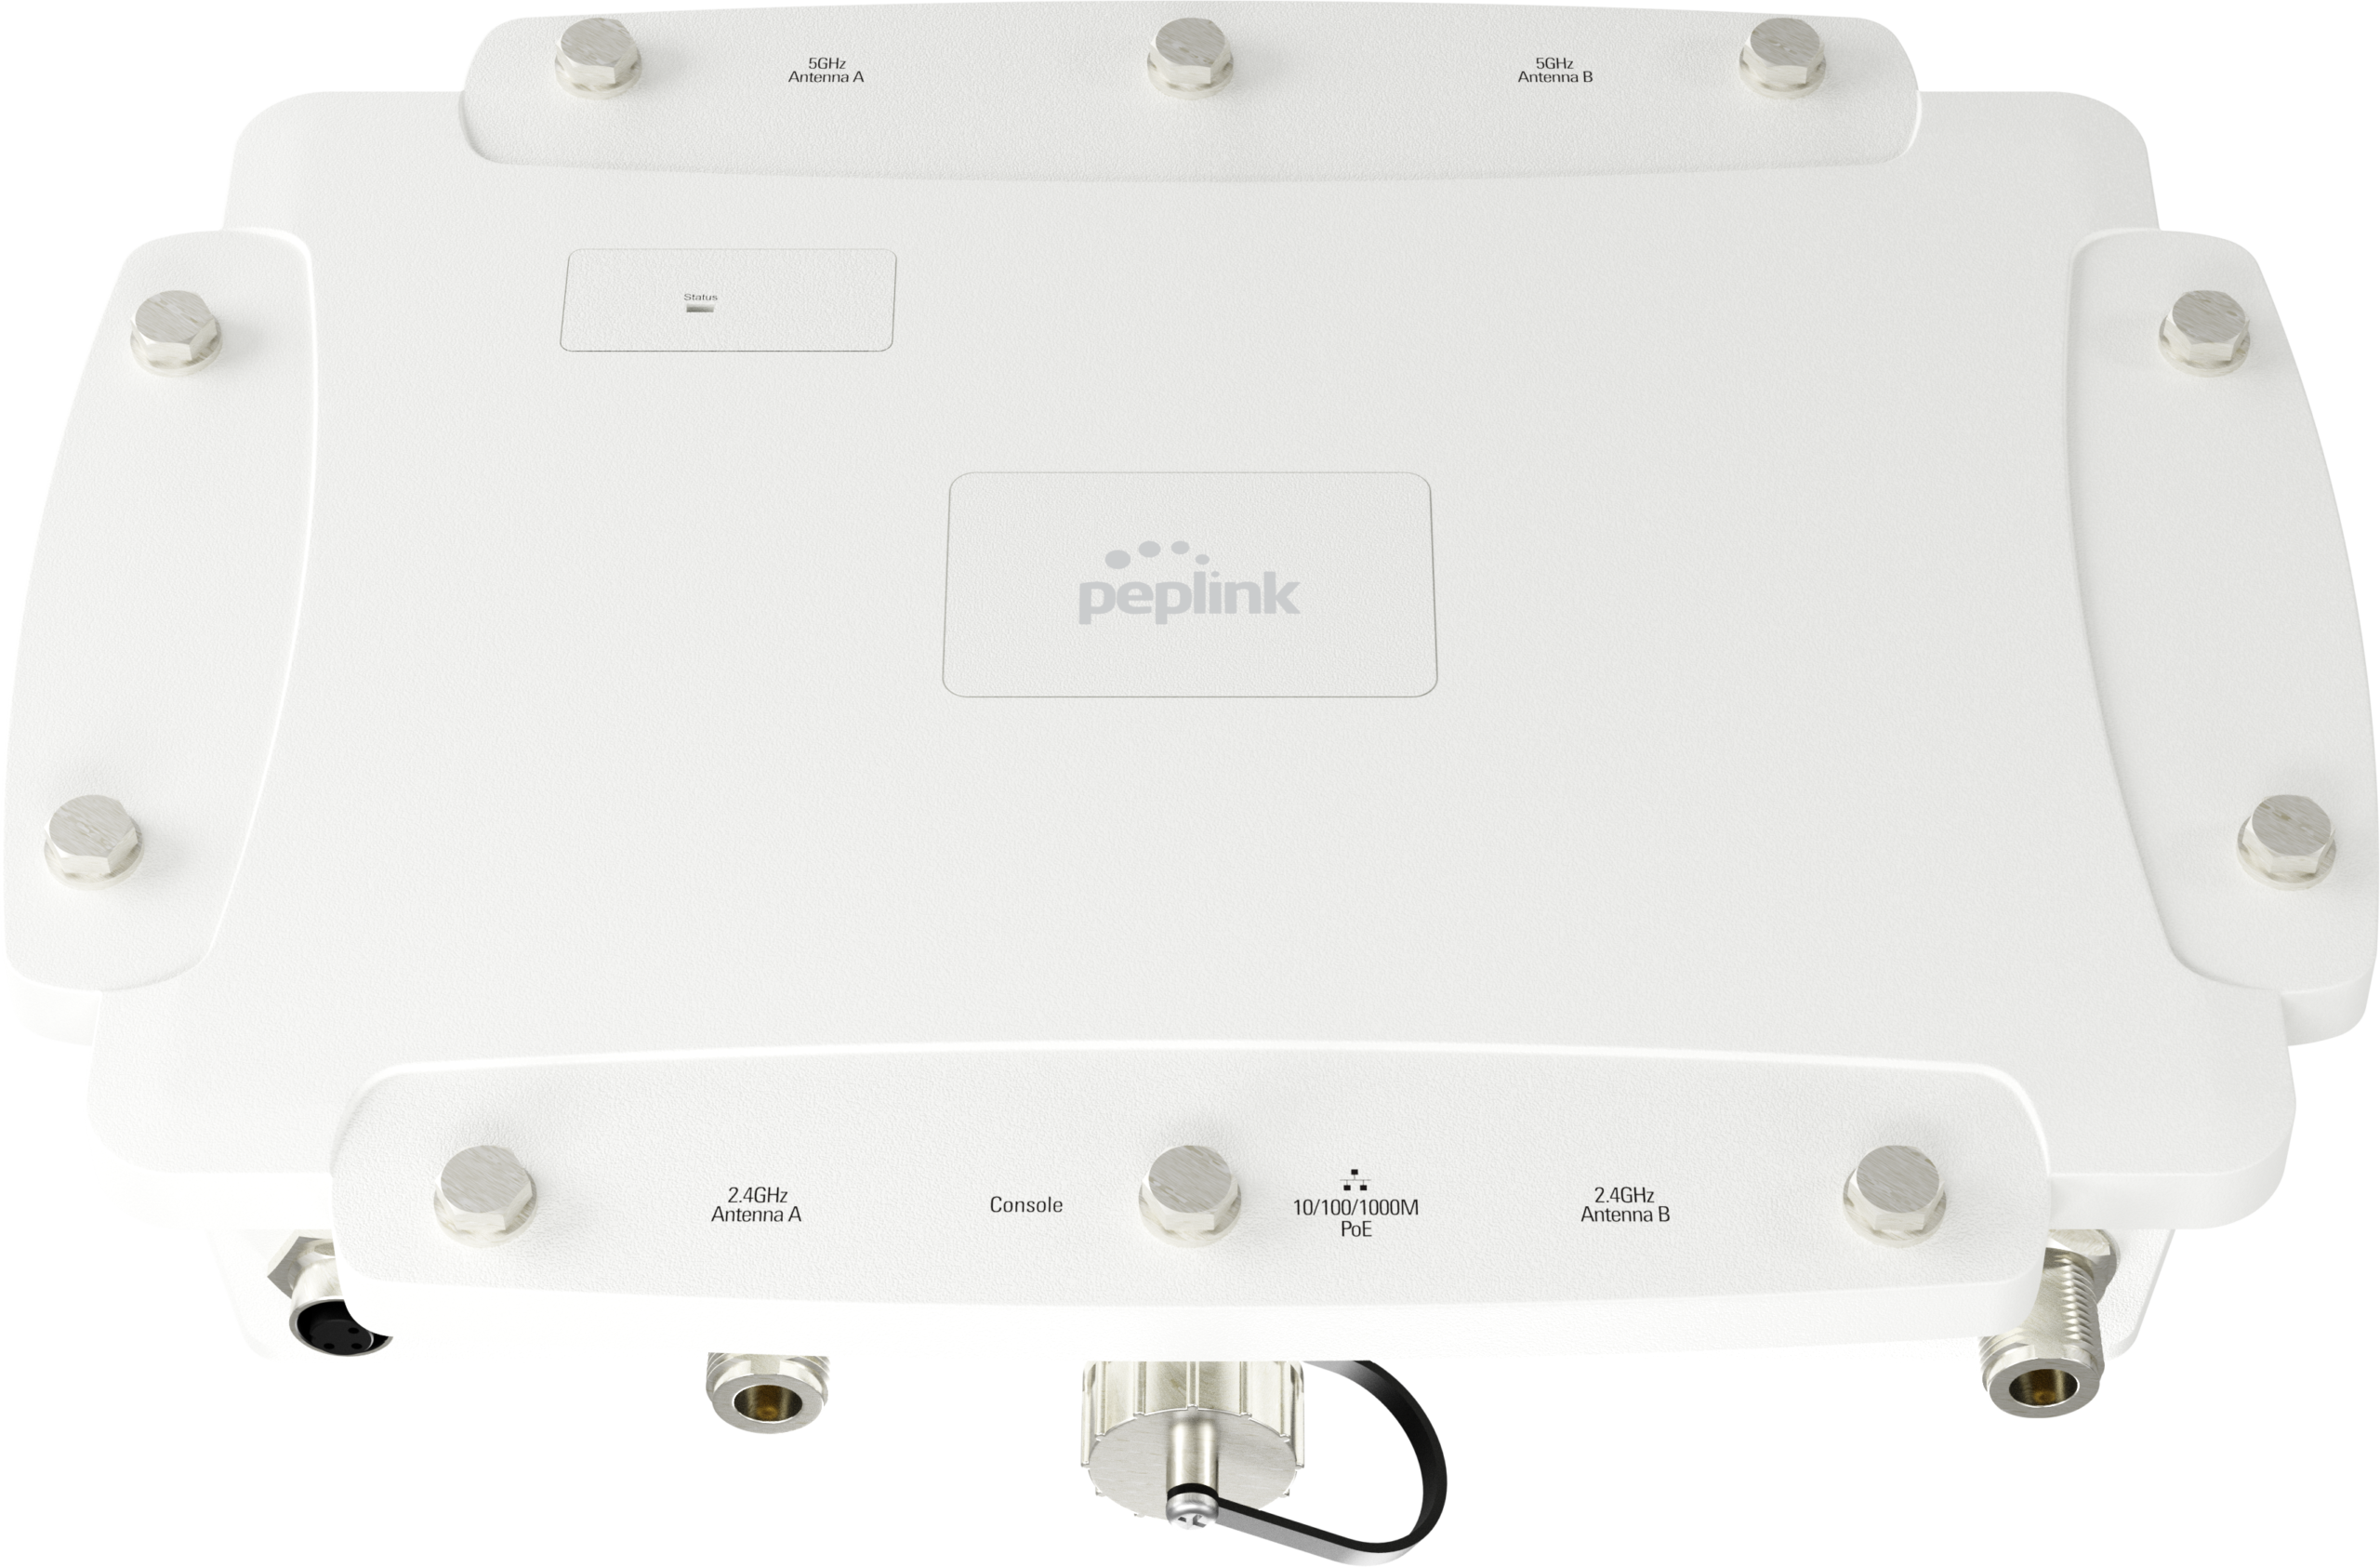
- Ethernet Port: 1x 10/100/1000M Ethernet
- Wi-Fi Standard: Simultaneous Dual-Band (2.4GHz/5GHz), Wi-Fi 6 2X2 MIMO
- Data Rates: 2.4 GHz: up to 574 Mbps, 5 GHz: up to 1200 Mbps
- Channel Width: 20/40/80 MHz
- Recommended Clients Per Radio: 256
- SSID Per Radio: 16
- Transmit Power: 2.4GHz: 24dBm, 5GHz: 25dBm
- Antenna: External Omni Directional Antennas¹, 2x 8dBi – 2.4GHz, 2x 8dBi – 5GHz
- Connector type: 4x Female N-Type Wi-Fi Antenna Connectors
- Enclosure: Plenum-rated enclosure, IP67 Rating
- Dimensions: 230 x 310 x 66 mm
- Weight: 2.2 kg
- Power Input: 802.3at PoE+², Power Port: 12V DC
- Power Consumption: 14.5W (max.)
- Operating Temperature: -40ºC – 65ºC
- Warranty: 1-Year Limited Warranty
- Package Content: AP Pro AX, Water Proof DC Power Plug for IP67 (ACW-636), 1x Waterproof Ethernet Connector Kit (ACW-112), Mounting Kit (ACW-723)
1. External Omni Directional Antennas are not included in the package.
2. AC/DC adapter and PoE Injector are not included.
FEATURES
Network
Bridge Mode
Router (NAT) Mode
Mesh
Wireless Distribution System (WDS)
Support for PPPoE, Static IP, DHCP Management VLAN
Spanning Tree Protocol
Radio
Multiple SSID
Auto Channel Selection
Transmit Power Adjustment
Neighbor AP Detection
Client Management
- Per SSID
VLAN with QoS (802.1p/802.1q)
Bandwidth Control
MAC Address Filtering
Layer 2 Client Isolation
Limit on Max. Number of Client - Per Client
VLAN with RADIUS
VLAN with VLAN Pool
Bandwidth Control
Multicast Filter
IGMP Snooping/Multicast Enhancement
AP Security
Open
WPA/WPA2/WPA3-Personal
WPA/WPA2-Enterprise
Captive Portal
By InControl
Device Management
Web Administrative Interface
InControl Cloud Management
Peplink AP Controller
SNMP v1, v2c and v3
ORDERING INFORMATION
| Product Code | Product Name | Description |
| APP-AX-IP67 | AP Pro AX | 2×2 MU-MIMO Wi-Fi 6 AP, Simultaneous Dual-Band 802.11a/b/g/n/ac/ax, Industrial-grade in metallic waterproof and dust-tight IP67 outdoor enclosure. |
ADD-ON FEATURE
| ACW-107 | 802.3af/at PoE Injector |
| ACW-825 | 2.4GHz & 5GHz Outdoor Wi-Fi Antenna Kit includes 2x 2.4GHz and 2x 5GHz Outdoor Wi-Fi Omni Antenna (2x ACW-202 & 2x ACW-308) |
WHY PEPLINK?
Why Rising Connection is using equipment designed and built by Peplink?
• Industry leader in both ISP & Data Bonding across multiple technology platforms
• Reliable hardware from entry level professional equipment through to advanced Enterprises solutions
• Worldwide supported and local support here in Australia by fully trained technicians
• Reliable and secure redundancy paths for mission critical sites
• Designed for maximum possible business uptime
This demonstrates to Rising Connection that you will have the Quality, Reliability and Product Support.
Trademarks and registered trademarks are the property of Rising Connection Pty Ltd, Peplink or their respective owners. Specifications are subject to change without notice. Images shown may vary slightly from the actual product.